Enclosure CAD, Drawings & 3D Printing
2026 · Fusion 360 · Design for manufacture · Bambu Studio · 3D printing
Design, validate, and print the physical parts the projection product and its test bench depend on, from a room-scale fog wall down to the enclosures that make the electronics shippable.
First look
What I built
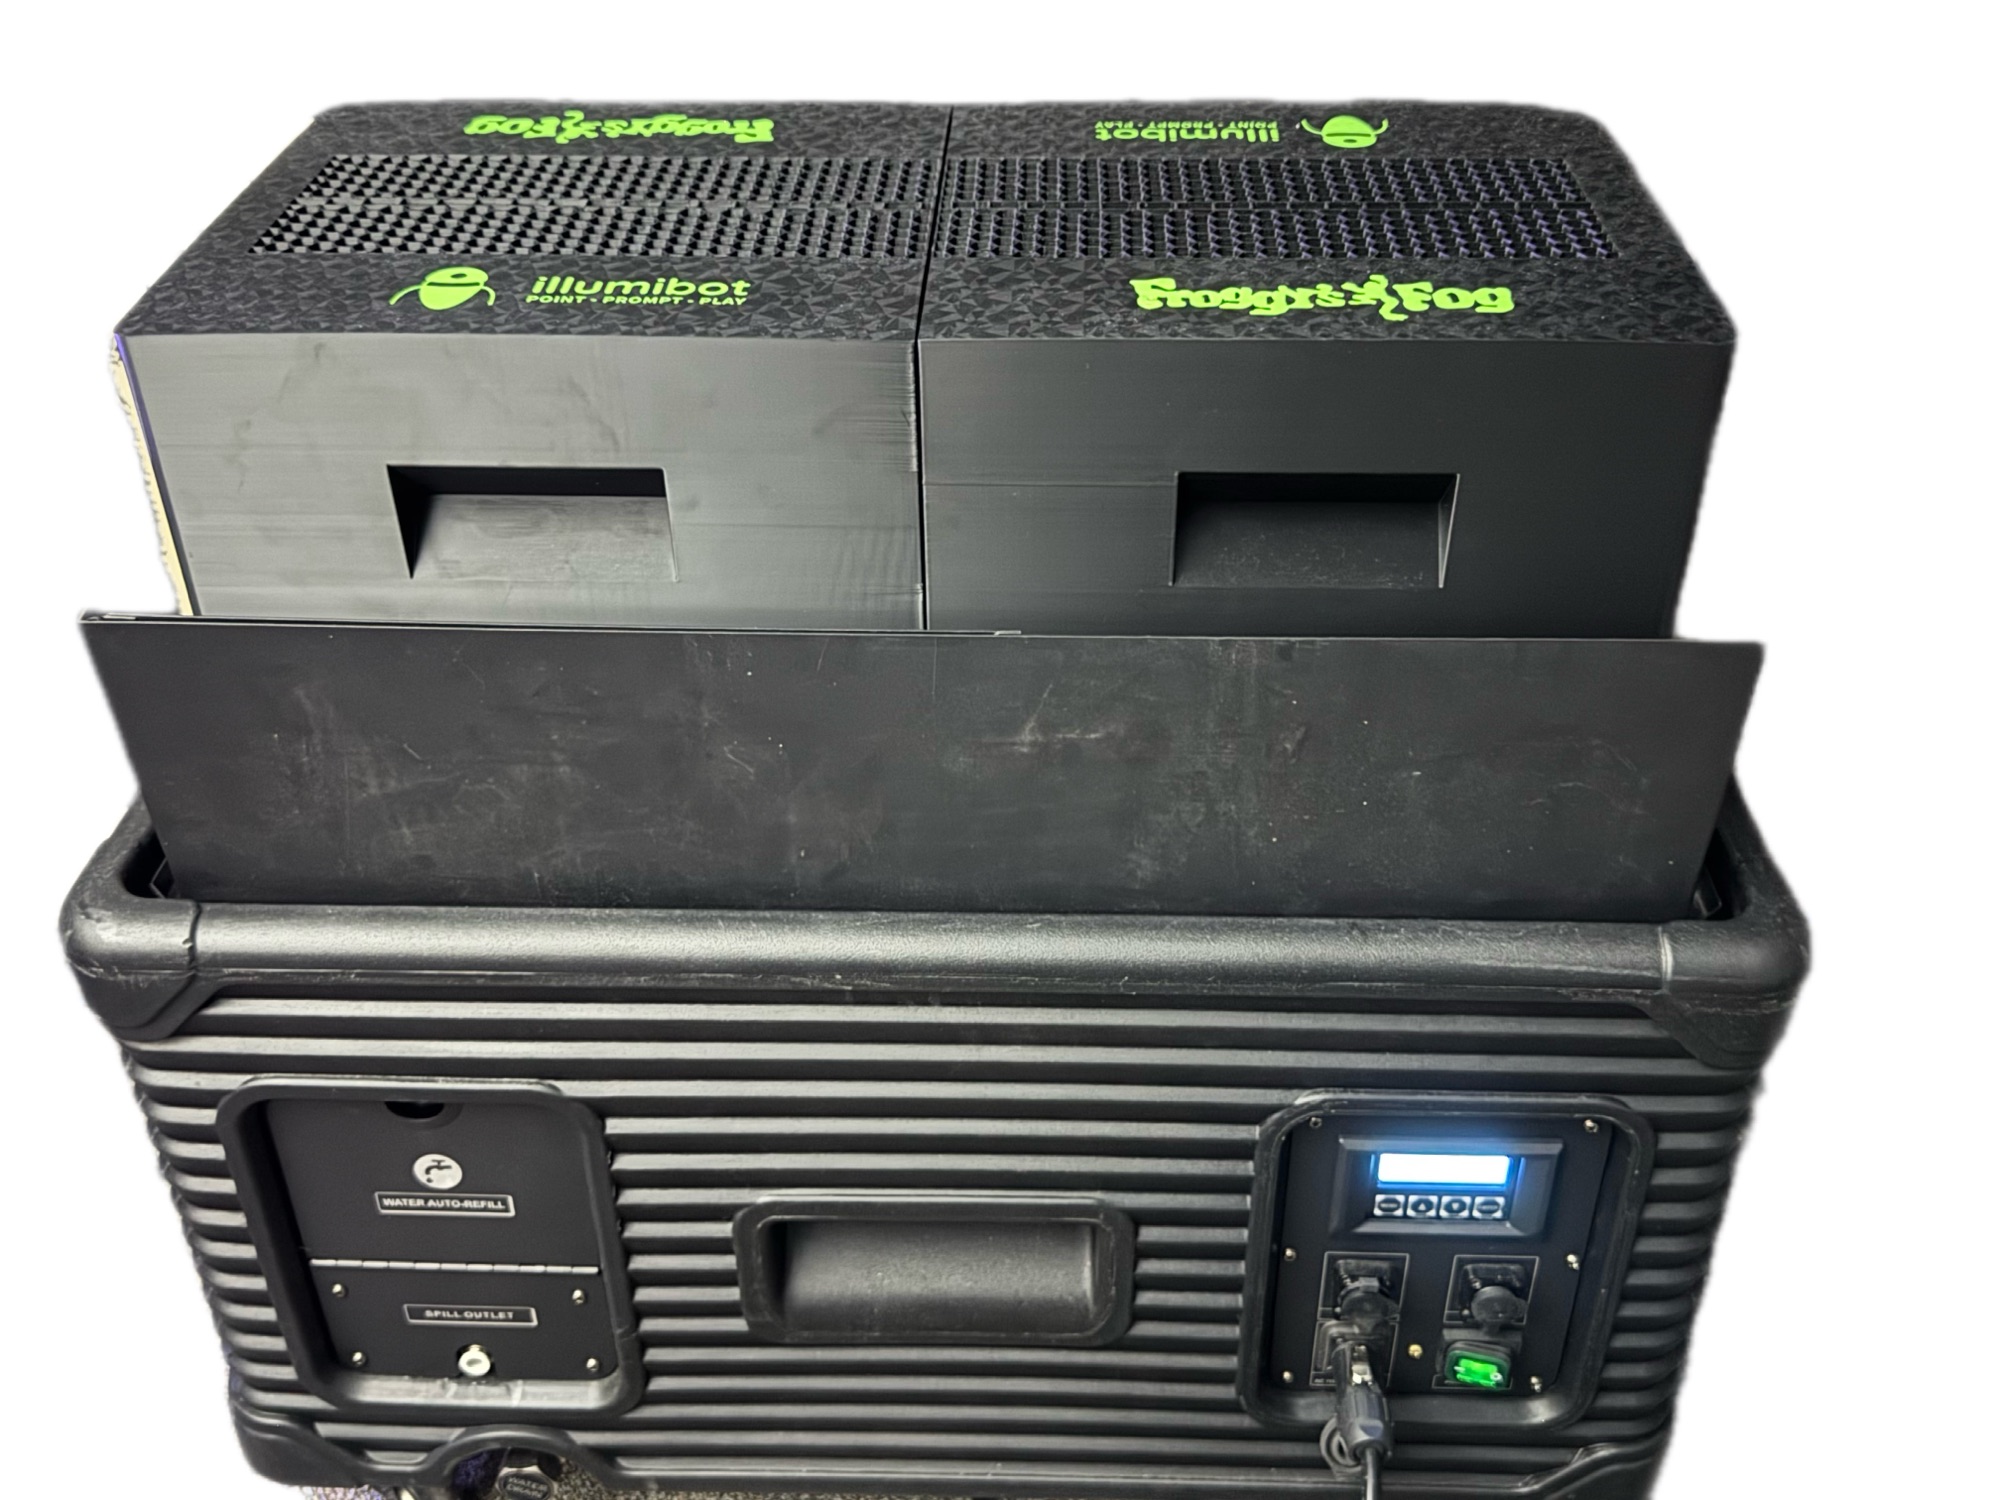
- Designed a Fog Wall in Fusion 360 and validated the design before committing it to print.
- Modeled and printed the Arduino product case and the IR module enclosures housing the trigger hardware.
- Designed and printed custom name tags for the team.
- Ran slicing and print preparation in Bambu Studio on a Bambu Lab H2D.
What came of it
- Enclosures took the electronics from bench wiring to shippable hardware.
- Designs validated in CAD before any filament was spent.
Surfaces
Fog Wall Enclosure
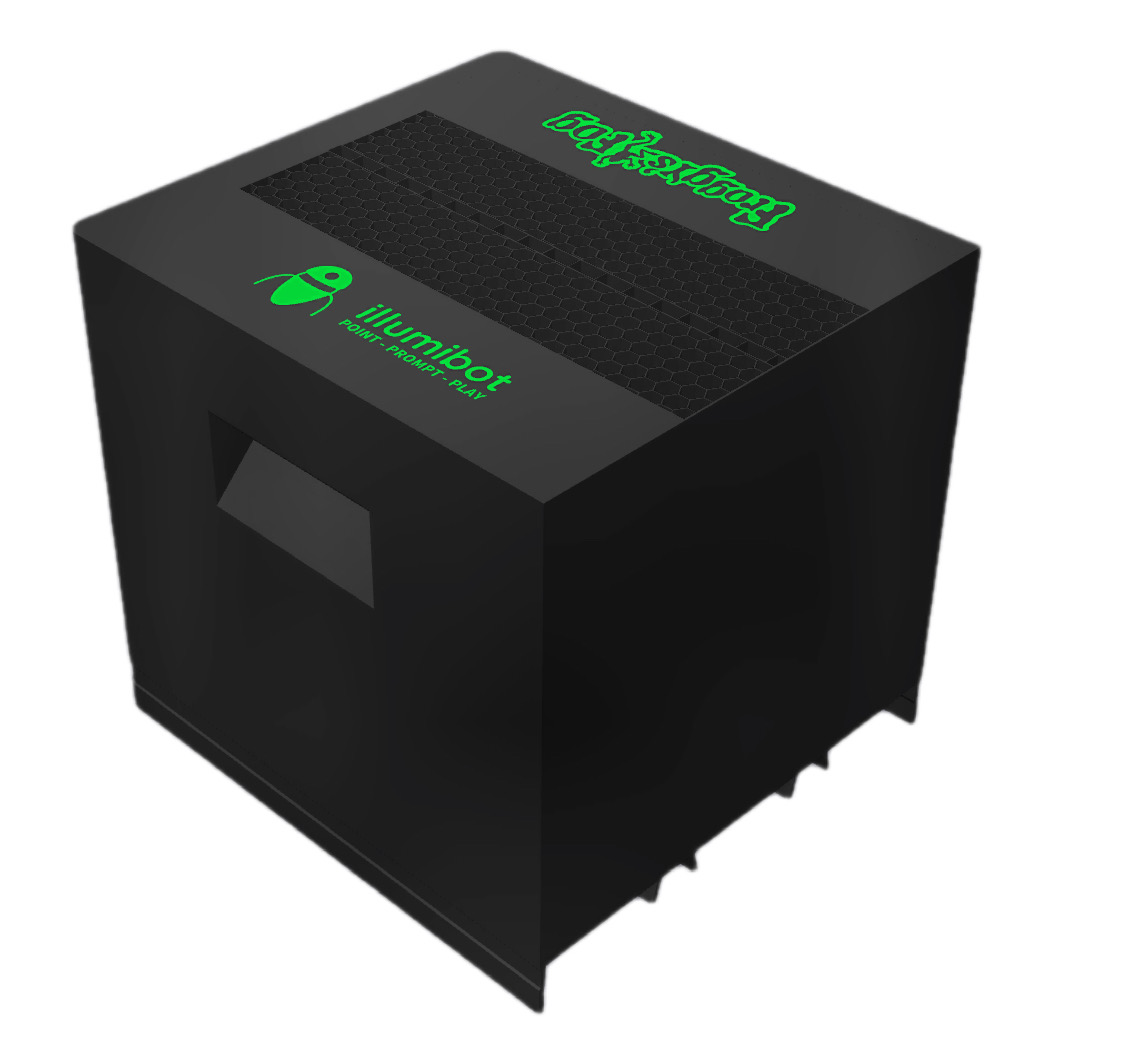
- Three-quarter render carrying the illumibot and Froggy’s Fog marks.
- Honeycomb top vent with a side cutout for the harness.
Drawing & Sections
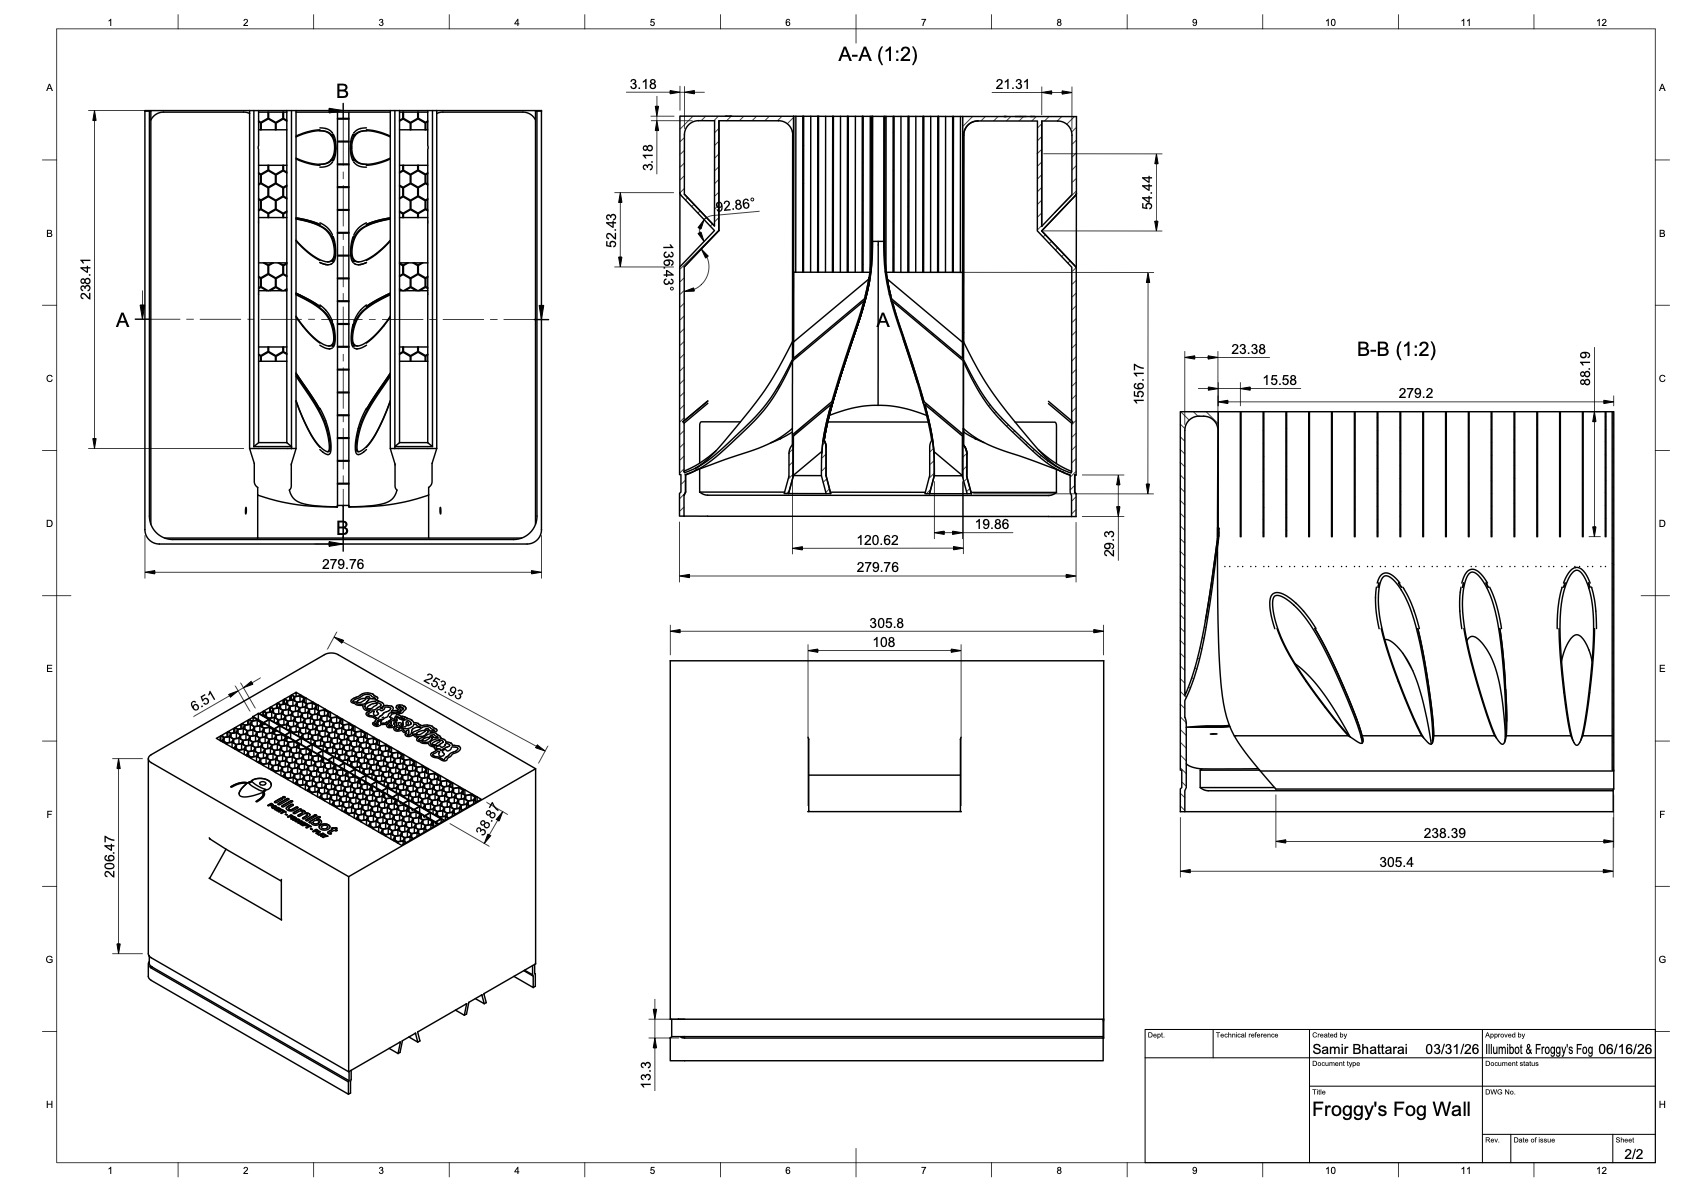
- Dimensioned sheet with A–A and B–B cuts through the body.
- Vertical ribs and paired baffles routed to the outlet.
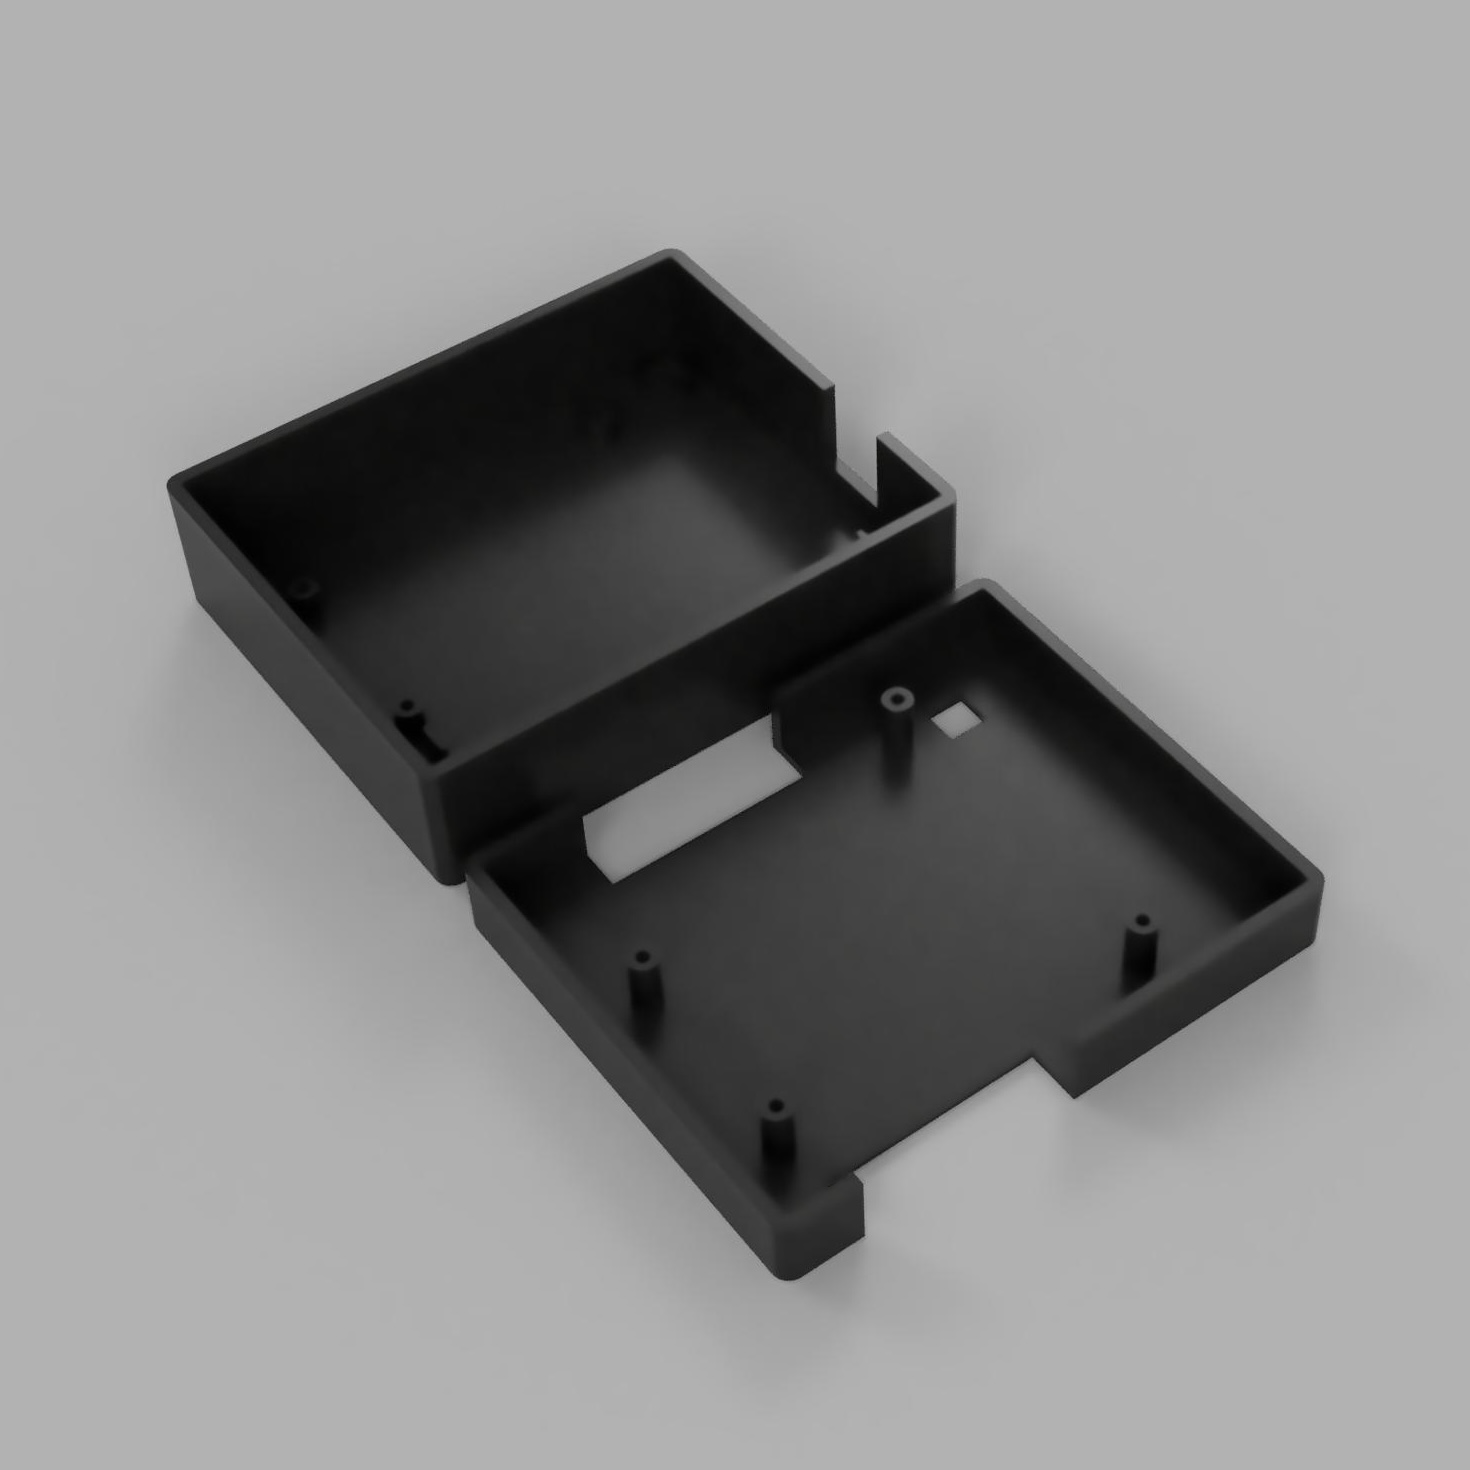
Arduino Product Case
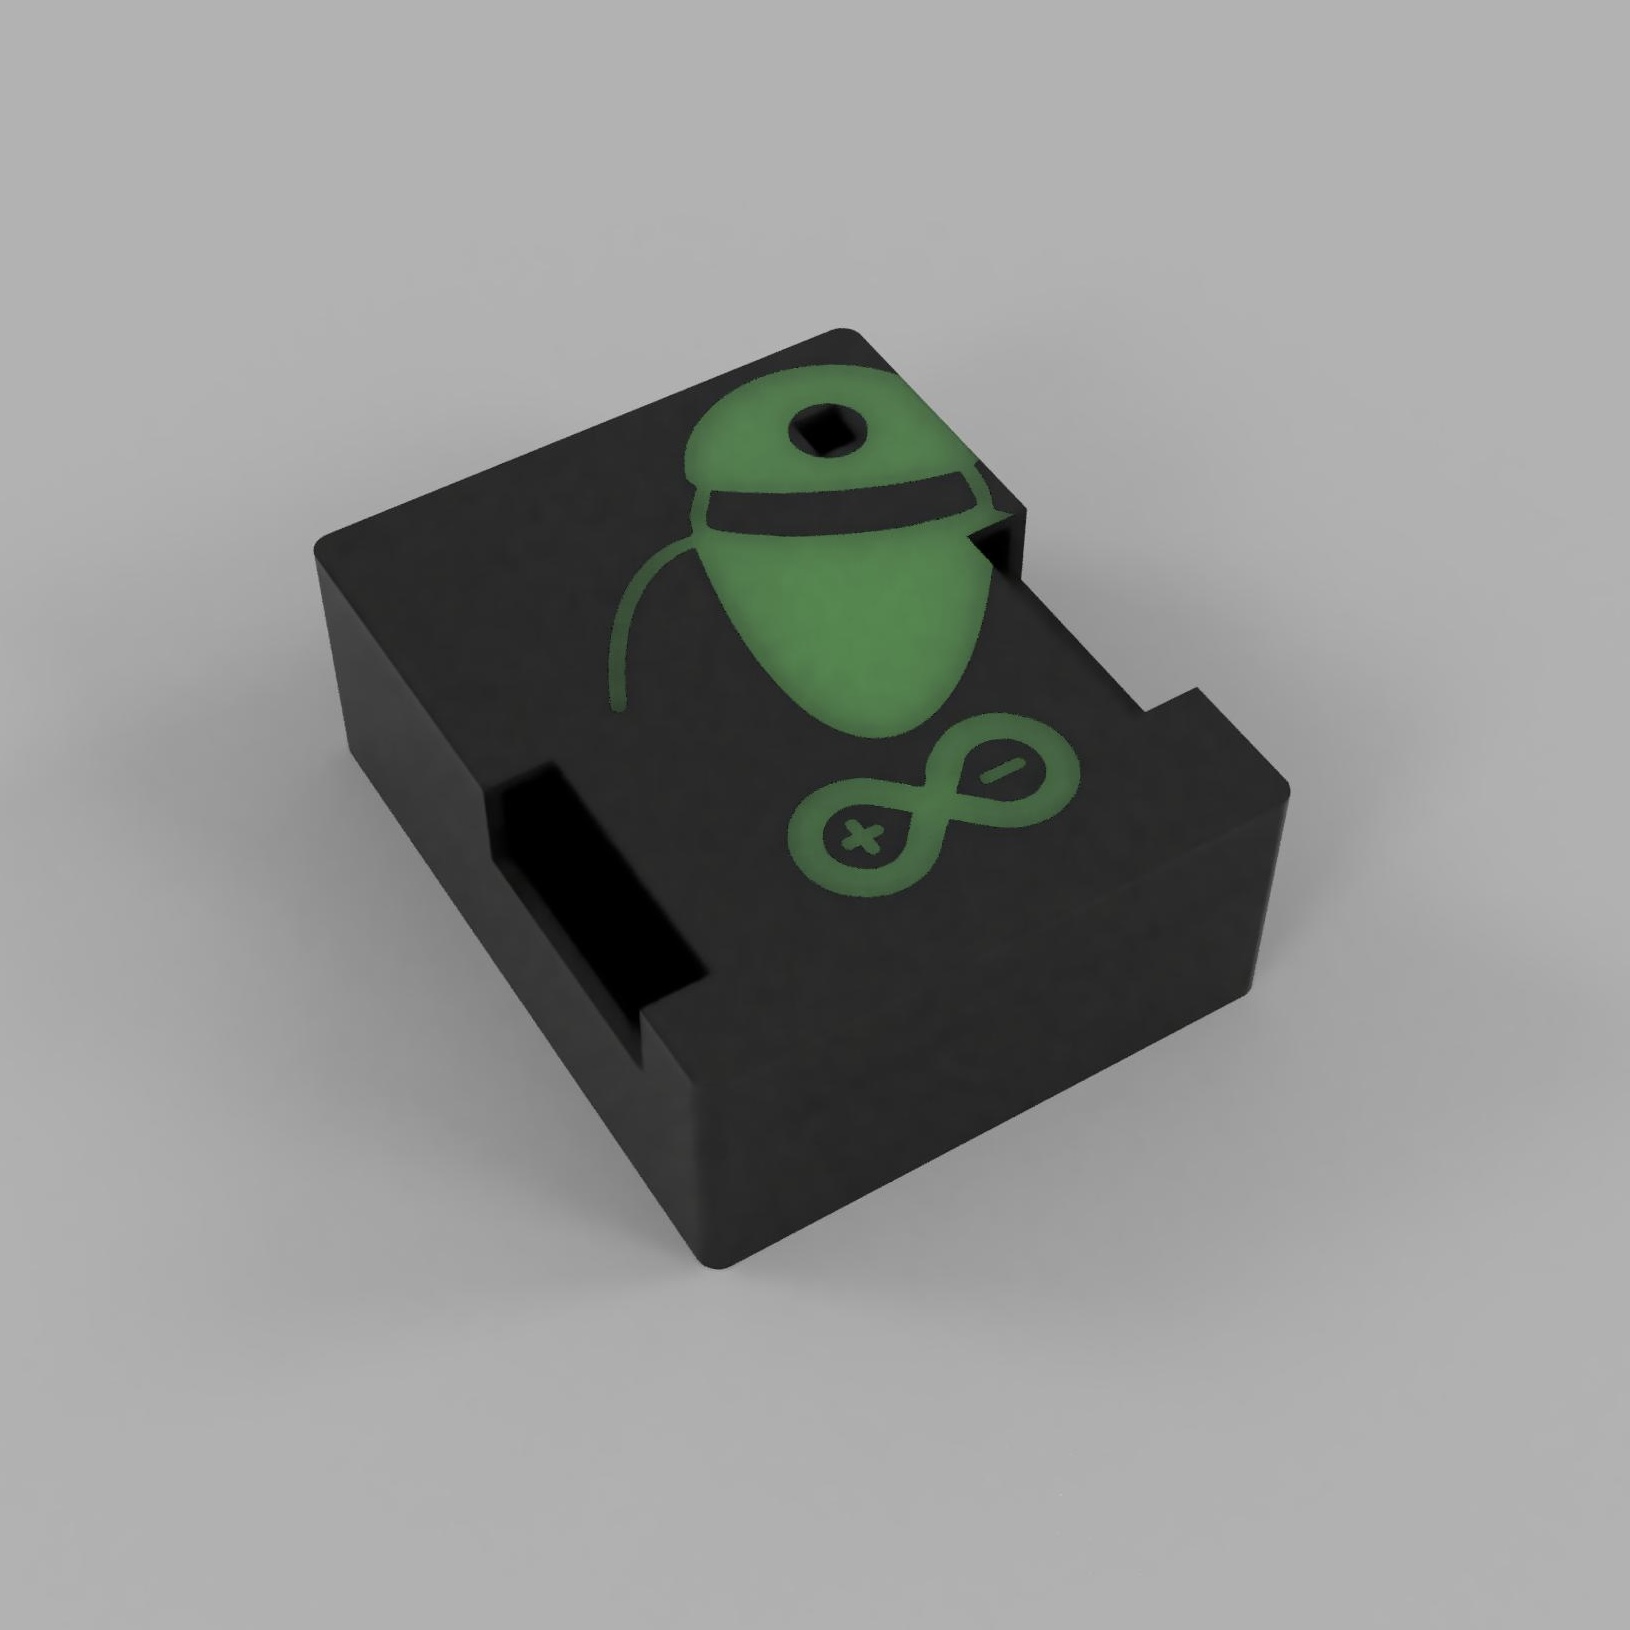
- Closed shell with the illumibot and Arduino marks on the lid.
- Relieved corners clear the barrel jack and the USB-B port.
- Lid and base printed as a pair, no fasteners in the seam.
- Moulded standoffs locate the board over the port cutouts.
Fusion 360 · Design for manufacture · Bambu Studio · 3D printing